Ventilation

Adjusting the Front Vents

Model 3 has a unique horizontal face-level vent that spans the width of the dashboard. Using the touchscreen, you can pinpoint exactly where you want to direct the air flowing from this vent when heating or cooling the front cabin area.
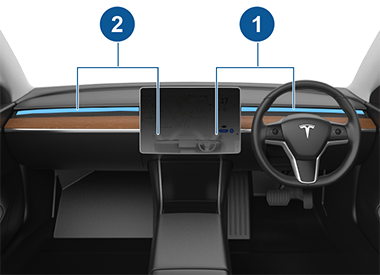
Interior view of front cabin with callouts
  1. Driver vent and controls
  2. Passenger vent and controls

When the face-level vent is on you can adjust the direction of the air flow from each vent. To adjust the direction of the air flow, simply touch the radiating air waves from the corresponding vent on the touchscreen. The air flows in a single stream when centered or splits into mirrored air streams when air is directed outward or inward from the center of the vent.

Informational PurposesAn informational icon, calling your attention
Note
You can direct the face-level vents toward the windows to help defrost or defog them.
Informational PurposesAn informational icon, calling your attention
Note
When you split a vent into two separate air flows, the air flow in each direction is not as strong as when all air is flowing in a single direction.
Informational PurposesAn informational icon, calling your attention
Note
Outside air is drawn into Model 3 through the grill in front of the windshield. Keep the grill clear of obstructions, such as leaves and snow.

Adjusting the Rear Vents

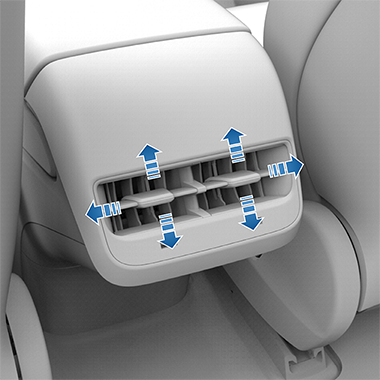
Model 3 has vents located at the back of the center console where air flows from when the setting is turned on from the touchscreen. To direct the flow of air in the rear cabin area, adjust the vents at the rear of the center console up, down, or from side to side as necessary.

Rear console vents with arrows pointing up, down, right, left

Cabin Air Filter(s)

Model 3 has one or more air filters to prevent pollen, industrial fallout, road dust and other particles from entering through the vents.
Informational PurposesAn informational icon, calling your attention
Note
Cabin air filter(s) require periodic replacement. See Service Intervals.